How To Use Plate Compactor On [Pavers, Gravel, Dirt, Sand]

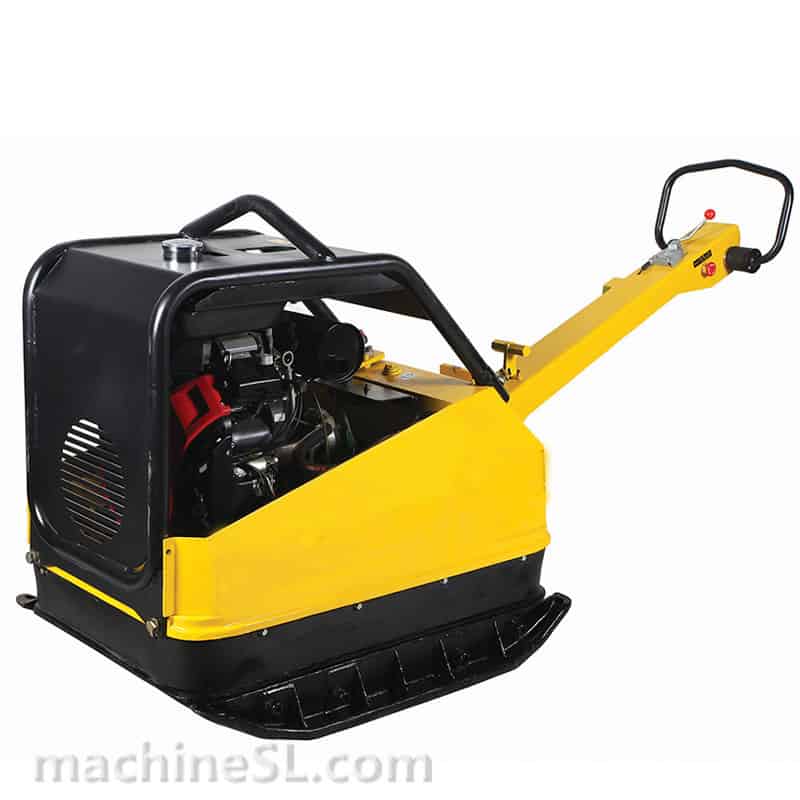
Before building your structures, you must consider to have a stable subsurface and one way of doing so is using the plate compactors. From the word itself, plate compactors are for compacting or compressing your subsurface which can be over pavers, gravel, sand & dirt.
Choosing the plate compactor is not only about the type of engine nor the plate area but most especially the type of subfloor to compact.

Contents
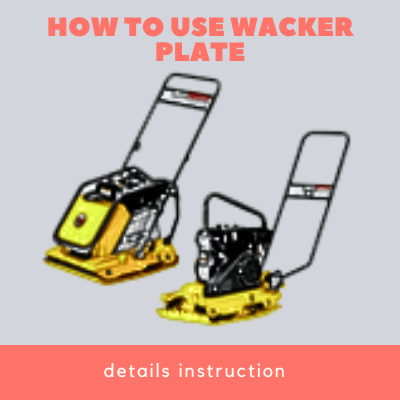
Prepare And Start Plate Compactor
Before Starting The Operation
1.1 Always check the manufacturer’s manual and check whether all parts are present. Familiarize yourself with the controls of the machine and check the necessary dos and don’ts that may cause the compactor to not work. Also check your working environment if there are any obstruction that can cause the compactor to break.
1.2. Check the tightness of the bolts & nuts. Fix unsteady bolts that may cause the thread to be loosen that may cause damage during vibration.
1.3. Check engine oil tank. Before doing so, always make sure that the engine is not working and must be in a stable position. Refer to the manual for the recommended oil level and type. Do not overfill as it may cause it to leak.
1.4. Check fuel tank. Like the oil tank, visually check if the fuel is in the recommended level as per manufacturer’s manual. When filling, always make sure that the engine is not turned on and should not be hot, have it cooled down first. If spillage happens, wipe it up and never turn on the machine unless it is all dried up.
1.5. Check Air cleaner and filters if dirt and dust are present. Always clean and if needed, replace the filters.
Operating The Compactor
2.1. Wear the necessary protection for eye and hearing.
2.2. Turn on the fuel valve lever. After doing so, move the throttle lever to idle or between the max and the slow speed. Now place the choke lever in an open position.
2.3. Grasp the starter grip and slowly pull it up. Avoid pulling the rope all the way to the end and never quickly release, allow it to rewind. When the engine starts, release the starter grip and allow it to recoil.
2.4. Now when the engine starts, check for any leaks, unusual noise and if it is working smoothly. You can now move the throttle lever to run position.
2.5. Push down the handlebar and maneuver the compactor to your desired location. Be careful in travelling it forward or backward in flattening your surface. Firmly hold on to the grip to move it in your desired position.
2.6. Compactors sometimes slows down but it could be from different reasons. One could be that a clay or similar material lodged on the plate. Another factor is the soil being compacted is in a high moisture level.
Paver Compaction
Pavers are pieces that fits which each other and laid down on subsurface. This are usually found on the exterior flooring. Before putting pavers, the subfloor should also be flat and stable. Compacting the pavers are to make sure that the subfloor at the paver are well interlocked.
- Check the levelness of the soil base. If there are big discrepancy, compact your subfloor so your pavers will be laid down properly.
- Begin laying down your pavers to your area.
- Compact starting from the perimeter moving your way to the middle. You will see that there will be sand overlapping in between your pavers but it is only normal. Now, compact the sand pushing it in the joints in between.
- Make sure that the joints are evenly filled with sand. If there’s a need to add more, do it by spreading the sand and compacting the pavers again.
- Check the levelness and continue doing so until the joints are uniformly filled with sand and the pavers are leveled.
- After doing so, sweep off the excess sand and soil.
Gravel Compaction
Gravel are loose crushed rock, and like the sandy soil has no cohesion at all. You should also consider the size of the gravels. The larger the crushed rocks, the larger the machine should be to achieve more productivity.
- Prepare your excavated site, considering the sizes of the gravel making sure than once compacted, it will not overlap to your finish floor line.
- Start adding gravels few inches, wetting it will help, then start to compact the first layer of the gravel.
- Check the firmness of the first layer, once it is stable enough, start adding more layer of gravels and start compacting.
- Check the levelness of the gravel bed and do until you get the desired thickness and level.
- Once done, sweep off the excess.
Dirt Compaction
Dirt are a combination of organic and inorganic matter that some it of will produce moisture.
- Segregate the dirt and check whether there are foreign matter than can cause damage to the compactor.
- Start compacting in a direction of a straight line and moving until all the dirt are being compacted.
- If there are some water present, moisture do help the dirt tighten by filling the air pockets leaving no loose space.
- Stomp on the dirt surface and check if it is stable enough, do as much as you want in order to get the desired firmness of the surface.
Once done, clean of the dirt that sticks on the plate.
Soil Compaction
Soil is classified into three types: sandy, clayey and silt soil. Sandy soils are coarse so it feels gritty when felt between fingers. They have no cohesive strength which tends to crumble when picked up. Clayey soils are smooth and are more cohesive which means it is stickier when water is present.
- Add your soil to the area and start misting it with water. Avoid throwing off too much water as it will get sticky and harder to compact. You can attach low-nozzle on your hose.
- Wait for a couple of minutes until the water is soaked in your soil.
- After the soil drained the water, add more water until the soil get the adequate amount.
- Now, start plate compacting in a straight direction going through all the corners of your lot. Always check whether your soil is wet enough.
- Check the firmness of the soil and compact until you get the desired stability.
- Once done, avoid other activities on the area and wait until it is dry.
Conclusion
If you are done using your compactor, put the throttle first in its idle position. Allow the engine to run slowly for a couple of minutes. Now turn the engine off and then shut off the fuel lever. After using, make sure that the plate are cleaned and no dirt or foreign material are left on it. Cover the plate compactor and store in a clean dry space to avoid rust and ensure the longevity of its condition.
Plate Compactor is a wise choice in using for your compacting projects. There are different type of plate compactors that you can consider to get the right compaction for the different subsurface of your project. The vibration from the plate compactors brings the materials together, eliminating air pockets which will then settle in their optimum level. With these different information, it all boils down to know the subfloor you are going to compact in order to choose the best option of plate compactor to get the desired compaction.
Leave A Comment