DIY Polish Concrete Floor [Cost and Instruction]
Various types of floor finishes can be achieved using the polishing of concrete for different concrete floor applications.

Some people may perceive that concrete only has a dull-looking grey finish well that is not true. Concrete finished can be extremely versatile-made with a variety of colors and finishes- allowing you to achieve any look you desire.
This article explains DIY concrete polishing.


Contents
DIY Polish Concrete Floor
To achieve the desired look in your concrete floor, whether it is for your basement, garage, bathroom, or bedroom, important thing is to select the right proportion of concrete mix, level of grinding, and polishing.
Outdoor concrete

For outdoor applications, the liquid oxide is mixed into the concrete. This is because oxide does not break down and the color remains vibrant even the concrete is exposed to scratching and chipping.
For outside concrete usually used in pavements, porch areas, the aggregate is preferred to be exposed.
For this reason, concrete is polished with blades of low grit. Before polishing you must decide how much aggregate you want to be exposed. Aggregate can be exposed from nil level to full stone exposure. This gives the concrete a natural look with a great amount of slip resistance.
For outdoor walls, usually paint is also mixed within the concrete. Although the finish level in this case is again a matte.
You would usually hear people saying that outdoor concrete does not polish. Well, that is not correct. Polishing makes the concrete strong, smooth, and much more resistant to stains-hence making it easy to maintain and clean.
Kitchen concrete (countertop)

In your kitchen, you can have a concrete slab and/or floor.
In the case of slabs, usually, it looks better to have nil exposure level for the aggregate. For this, you may have to grind 3 mm or less off the surface. The result will be no stone visible surface. You would be only seeing dots on the concrete surface. This type of polishing is most difficult to achieve.
Therefore, it is usually recommended that the same person who poured the concrete should also polish it. For polishing, you may have to choose high degrees of diamond blades to achieve glossy looks.
Kitchen concrete (floor)

For floors of the kitchen, you may want a little bit more amount of aggregate exposed.
In these cases, you may have to grind 2 mm to 5 mm off the surface. This will expose small amounts of stone. This type of look is often called a salt and pepper look.
This name comes due to its uneven nature-some areas with high exposure of stone while some with the less. This exposure level has also been proven to more cost-effective with an ability to achieve a perfect industrial look.
For polishing, you may have to choose high degrees of diamond blades to achieve glossy looks.
Bedroom floor

For bedroom floors, it is usually preferred to have more aggregate exposed.
In this case, usually grinding of more than 5 mm off the surface is done. You can see all the stones with full exposure.
This type of floor is a popular choice for bedroom or hallway floors due to its decorative looks. However, it is more labor-intensive and requires heavier grinding. Of course, you would incur many costs in this case.
For polishing, you may have to choose high degrees of diamond blades to achieve glossy looks.
Basement floor

On the basement floor, any type of stone exposure can be chosen.
Since the basement is the area, which does not require a very glossy look to show off, a moderate cost option can be opted out with 2 to 5 mm off the surface.
However, the level of polishing is less, and a matte look is preferred. Matte looks are easier to maintain as they will not show off the dust on the floor, which is mostly gathered on basement floors. It also hides imperfection on your floor.
For any type of polishing, you must use a diamond blade of various degrees. Format finish, a less degree is required.
Bathroom floors

Bathroom floors usually require a moderate to nil level of exposure to aggregate. Therefore, a grinding of less than 5 mm would be required off the surface.
An important aspect of bathroom floors is the level of shine and gloss, which is a bit higher. Therefore, medium to high degree diamond blades should be used there.
The glossy finish is easy to clear but on the other hand, they become dirty more. But still, they are preferred as we all want our bathroom with good reflectivity and sheen, which is possible by a glossy looking concrete floor.
DIY Polish Concrete Floor Instruction
You can remove the dullness and dirt of your concrete floor with a little bit of grinding and elbow grease. Following steps should be followed while polishing your concrete.
- Preparing the area: Before you start working with your floor, the area you want to polish must be prepare.
The amount of preparation depends on the area you must polish and the amount of dirt on it. You must mop the area with a wet cloth to remove all dirt. Then, any sealer or coatings applied to the floor previously should be removed. Any existing cracks should be repaired.
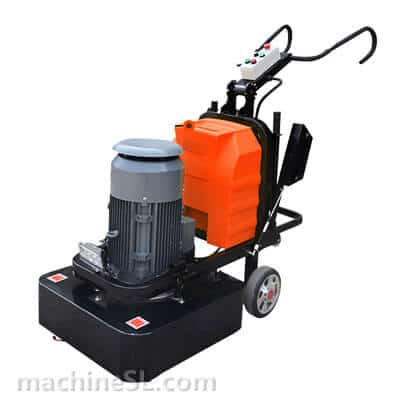
- Polishing using coarse grit disc: Once the area is ready, the polishing process begins.
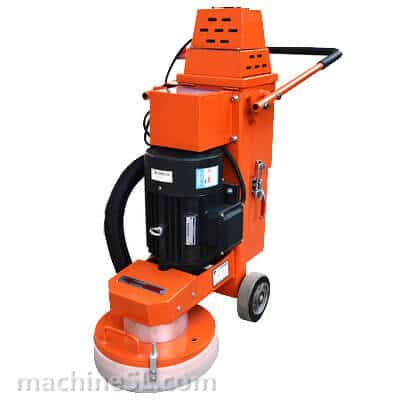
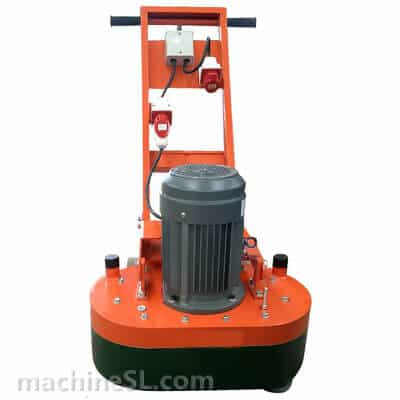
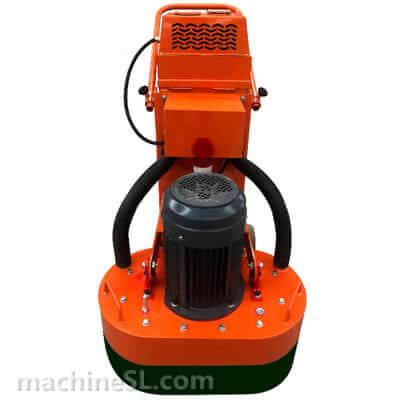
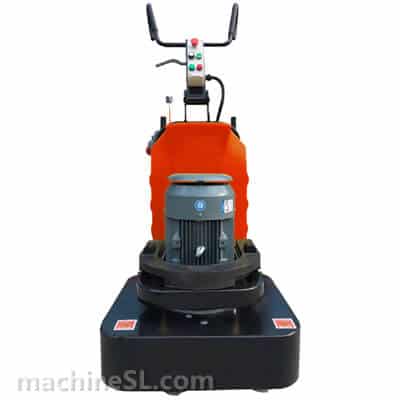
You will have to use both a concrete grinder and abrasive diamond discs. They can be rented out easily. You should start by polishing with a coarse grit abrasive disc to remove any stains or rough areas.
The grinder should move in a circular motion with starting from one area and gradually moving to the other. You should make sure to not miss any spot.
- Polishing using a fine grit disc: Now you must switch to a fine grit disc. Polishing with this disc will give the floors a glossy and sleek look of properly polished floors.
- Polishing using an extra-fine grit disc: The next step is to use an extra-fine grit disc on the entire surface. This will remove all blemished of the surface and you would be left with an extra smooth surface.
- Applying the floor polish: Once the floor is completely polished you should apply a coat of floor polish to protect it against further damage. This will form a protective layer on top of your concrete floor.
DIY Polished Concrete Cost
A contractor would charge you something in between 2$ to 6$ per square foot for concrete floor polishing for different floor applications listed above.
The lower cost is associate with the floor having moderate aggregate exposure and matte finish. However, the costs are much lower around 0.3$ to 0.5$ if you decide to do it yourself. This cost is of course majorly the cost of rent of equipment.
Therefore, if you have time and the required skills, you must go for DIY polishing.
Conclusions
To conclude, this article was all about DIY polishing of different types of concrete surfaces. The amount of polishing required at those surfaces is explained, how to do it yourself at home is explained and associated costs are described.

Leave A Comment