What is a Tamping Rammer? The Principle,Maintenance and Usage
Compaction is one of the basic requirements at the construction sites that require solid, uniform, and stable groundwork.
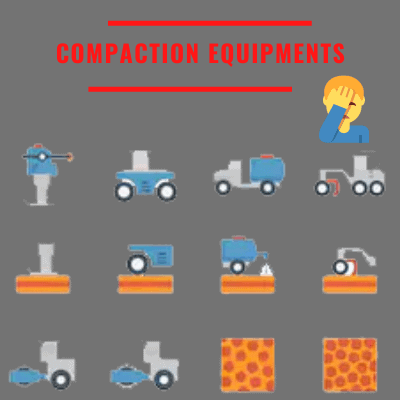
There are several types of equipment available for compaction in the market. Some of them are rammers, vibratory plate compactors, rollers etc.Selection of the equipment depends on the amount of land to be compacted, geometrical constraints, type of soil etc.

In this article we are going to discuss one of the compaction equipment i.e. tamping rammer.

Contents
What is Tamping Rammer
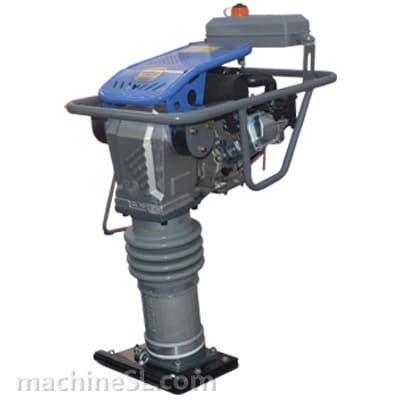
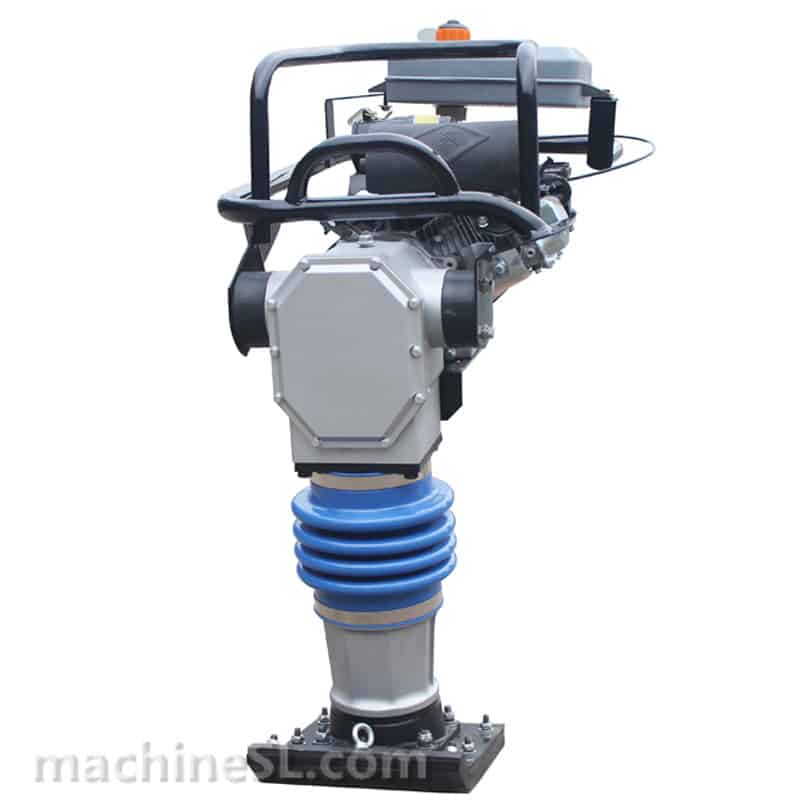
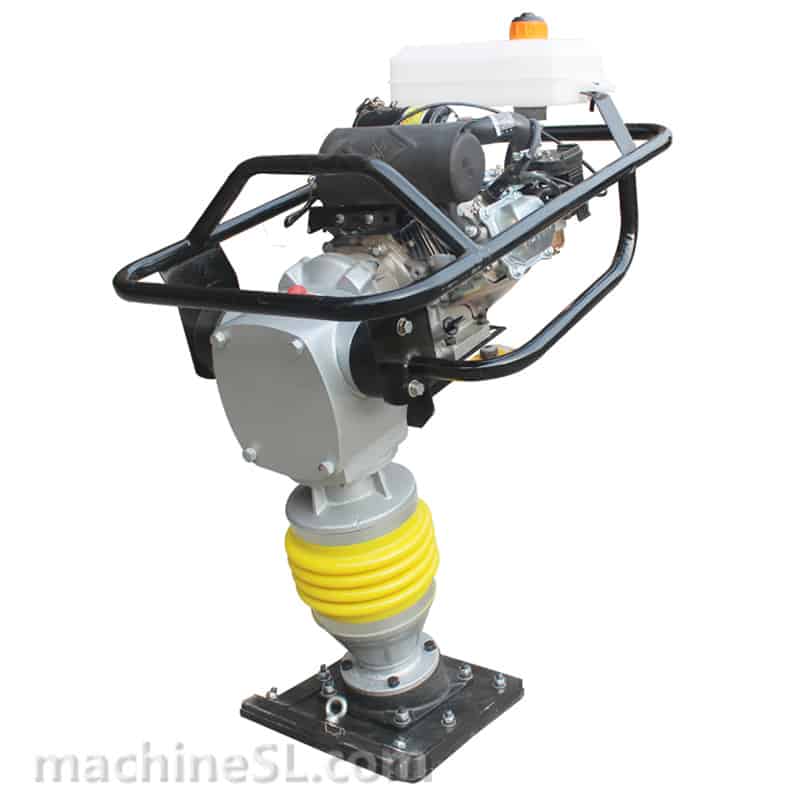
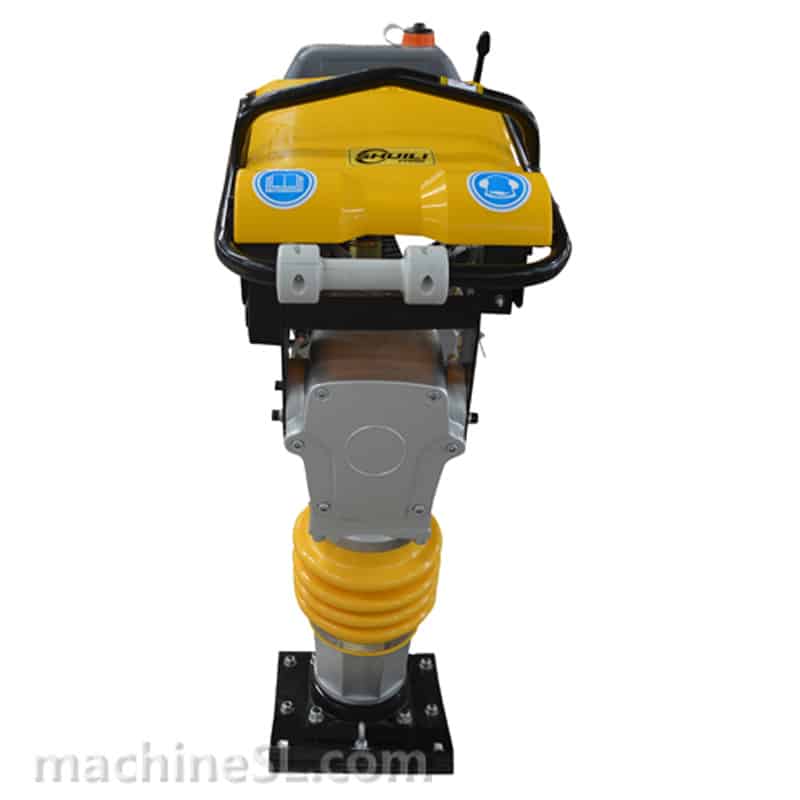
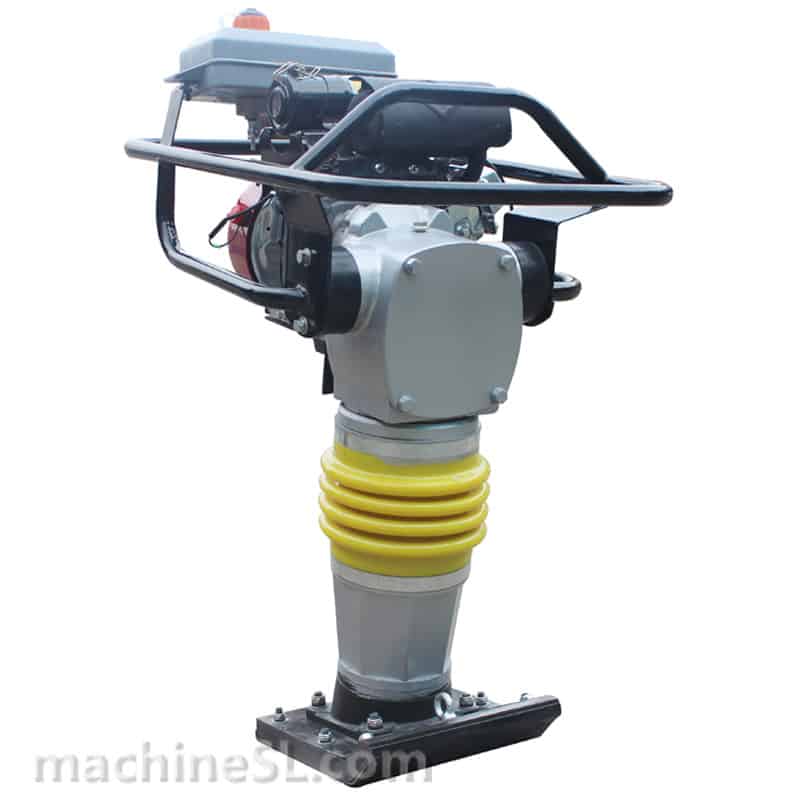
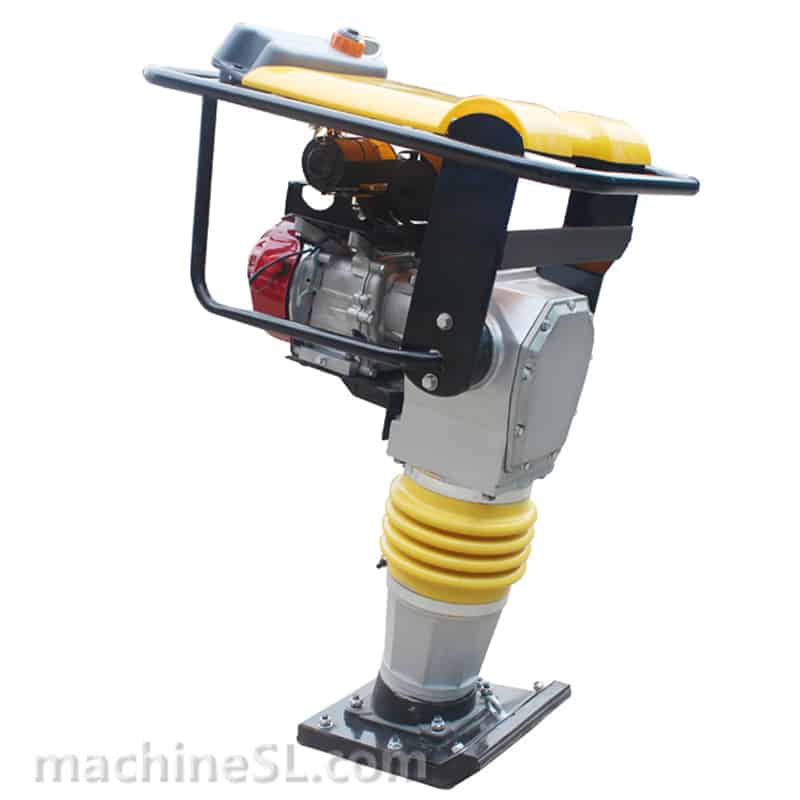
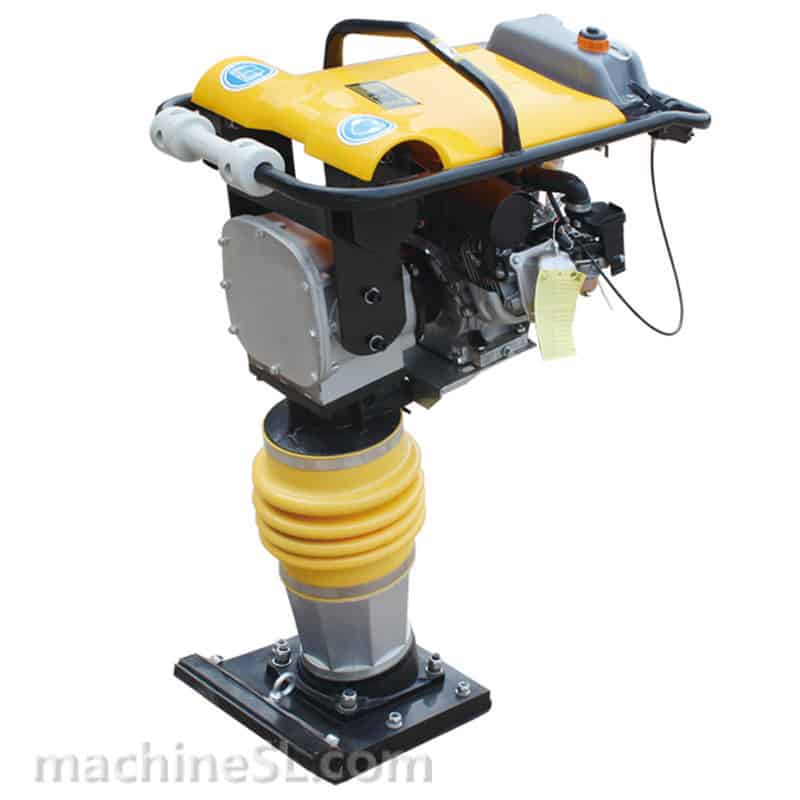
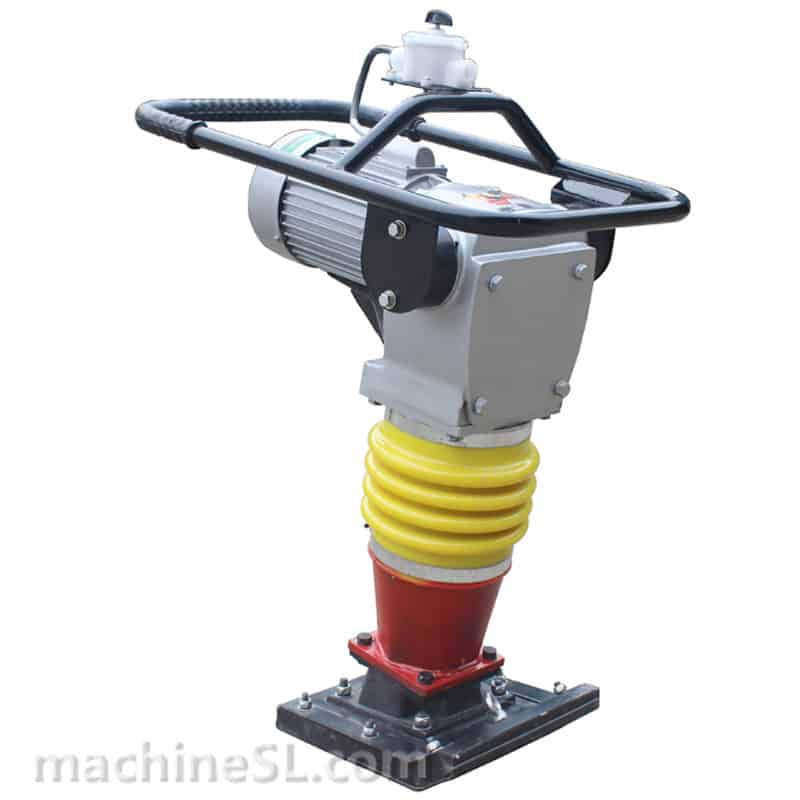
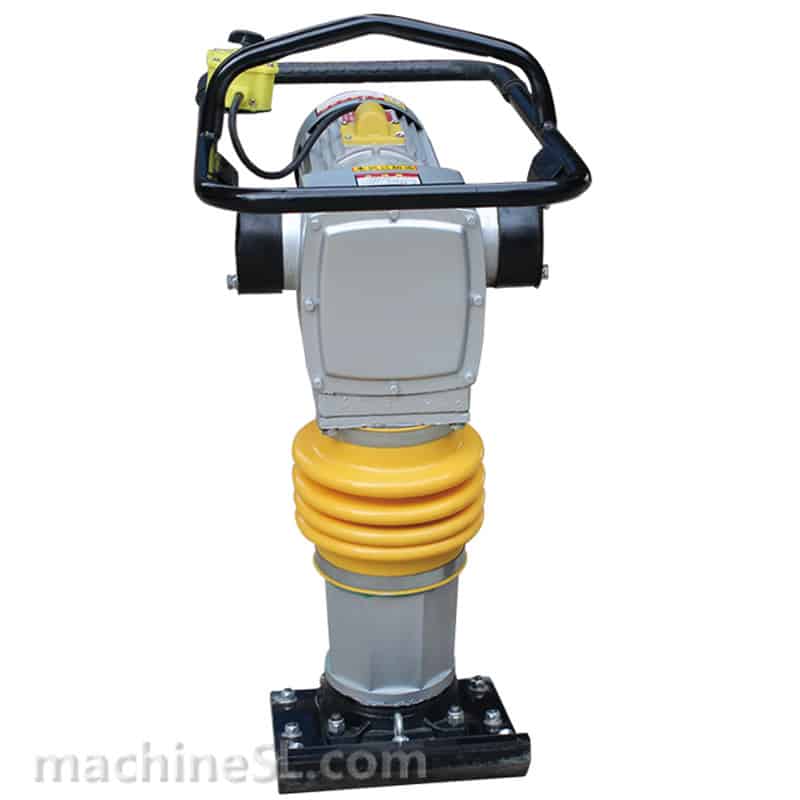
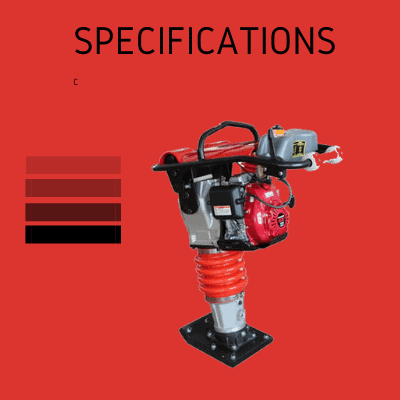
Tamping rammer is a machine used for compacting different types of soil under various construction scenarios. It applies impacts to the surface of soil to level and compact it uniformly.

During the process of compaction, it reduces the number of voids among the soil particles and increases the dry density of soil.
Tamping rammers usually apply high impact force with the frequency range of around 500-750 blows per minute. Therefore, they are the best option for compacting adhesive and semi adhesive soils. They are not recommended for compacting granular soils like sands.
They are particularly affective in compacting trenches and working within the confined areas.
How Does It Work
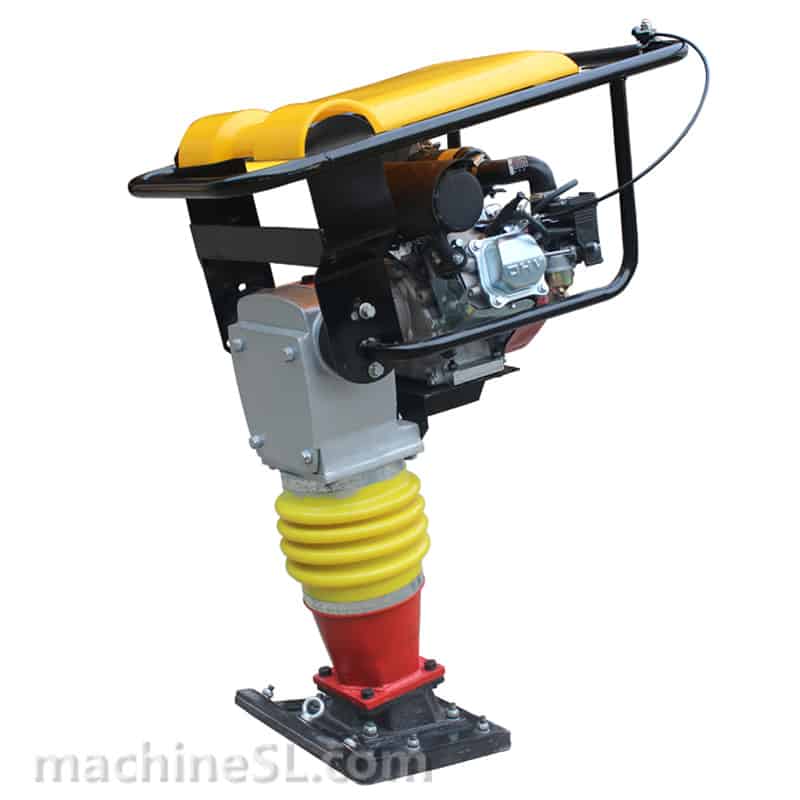
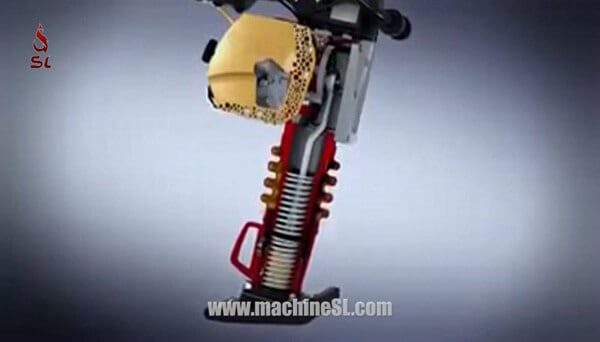
Tamping rammer is essentially made of four components: a torque producing machine, a gear, a spring encased in the cylinder and a plate foot or shoe.
The engine or electric motor generates a torque, which is then transferred to the crank gear as a reciprocating motion. The crank gear ultimately passes on this motion to the shoe or foot through the spring encased within a cylinder. As a result, vibrating motion is generated in the foot of tamping rammer.
The fuel used by the engine or motor can be petrol, diesel, or compressed air.
The rammers are designed to be leaning forward at a certain angle to allow their jumping forward motion during the operation.
Maintenance Checks Before Operating a Rammer
Before starting the engine, apply following pre-operation maintenance checks:
- Always check the spring cylinder sight glass located just above the shoe. Oil inside the cylinder provide lubrication for the critical components. If oil level is low, operation manual should be consulted for proper refilling of the oil.
- Inspect the bellows for punctures or sights of oil leakage. Remove any dust trapped between the folds. If leakage and damage is discovered, get the rammer inspected.
- Locate the engine oil slump and fill port. Remove its stick and check the oil dip level. If oil is needed, add as directed in the rammer’s operation manual. Make sure rammer is on level ground, while taking the engine oil reading and ensure that no dirt enters the crank case, when checking or refilling the oil.
- Remove the engine protective cover to access 4-stage air filter assembly. You will need a screwdriver to access the assembly. Remove the foam elements placed underneath the cover and check for any contamination and dust. If it is needed, clean or replace it as per the operating manual.
- Below the foam, you will find a wing nut. Remove it to access the air filter (a paper made element) and inspect it for any contamination. If necessary, replace it.
- Locate the fuel fill cap on the fuel tank. Remove it and inspect the fuel level. If the fuel is needed, ensure that fuel is obtained from a clean fuel tank free from any containments.
Operating a Tamping Rammer
Following steps are needed to be performed for successful operation of a tamping rammer:
- Locate the choke lever and set it to the closed position.
- Place the throttle level to the start position. This will initiate fuel flow towards the engine.
- Grip the recoil grip handle and pull it to start the engine.
- Once started, place the choke to open position.
- Set the throttle to maximum RPM running position.
- Allow the rammer to run approx. for 1 minute before operating.
- Adjust the RPM as per your need.
- Now the rammer is ready to be operated. Use the guide handle to control the direction of rammer.
- Returning the lever to stop position will shut down the unit and will also stop the fuel flow from the tank.
- Lastly, always transport the rammers in upright position.
Replacing a Broken Foot (Shoe)
A broken rammer can cause delays in the project, that will cost you time money. Therefore, it’s important to know the basic fixes for some of the most common problems in rammers.
Rammer foot can be damaged due to some loose hardware or improper operation. It could also sometime lead to rammer shoe hitting itself against the spring cylinder. Edges of the foot can also wear out over the time.
Therefore, it is necessary to repair or replace the foot to avoid any future damage
Replacement
In order to replace the rammer’s foot, stand it on the solid ground and follow these steps:
- Clean the foot to remove any dust or debris.
- Remove the screws located on the top of the rammer foot.
- Now lift the rammer up to separate it from the plate foot.
- Install the new foot and tighten the screws.
- Torque the screws tightly.
- Moreover, remove the other four locknut and lock washers located on bottom plate.
- Separate the bottom plate, and remove the remaining locknuts and plow bolts, on the bottom plate.
- Install the bottom plate by rotating the plow bolts in the rammer foot. Plow bolts should be rotated until they are completely settled in the notches of the bottom plate.
- Torque the plow bolts to tight them and lock nuts.
Alignment
Once the new foot is installed, ensure that the rammer foot is also properly aligned with rest of the body of the tamping rammer. To check the correct alignment, lay down the machine and face the front of jumping jack.
- Match the front edge of the foot up with the front of the rammer’s cage handle.
- Now, lay the rammer down on its front side while keeping the foot’s edge flush with a levelled floor.
- Make sure that the rammer’s cage handle is flushed with the floor.
- Now tighten the clamps located around the bellow.
- Lastly, lift the rammer straightly and inspect it visually for any misalignment.
Conclusion
To sum up, tamping rammer is a single hand operating machine used to compact adhesive soils. It can be operated easily by just following few simple steps as listed above.
It has simple routine maintenance and repair process, that can be handled even by the less skilled person.

Specify the engine viscosity index for the rammer
thank you for your suggestion,Dominic